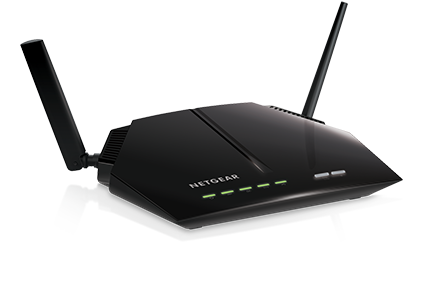
The default site for beginning with a WiFi extender is mywifiext.net. This could be useful. In the URL area, type192.168.1.250to get the steps for connecting your Netgear WiFi extender to your router. The setup option will be given during the mywifiext.net setup process. This technique will walk you through the complete installation procedure, including configuration and log in to 192.168.1.250. Users can experience the quickest possible wifi performance thanks to FastLane technology. It has its own wifi band and is capable of fast internet connections. It might be useful to you. We have provided advice in this blog to aid you in completing the 192.168.l.250 Login Setup.
Mywifiext.net Login setup
This is a web browser setup approach. To set up an extender using mywifiext.net, carefully follow the instructions.
This is a web browser setup approach. To set up an extender using mywifiext.net, carefully follow the instructions.
Connect the power supply to your Netgear extender.
Then connect your router and extender.
Connect to the Netgear ext SSID using the system or network.
Open your preferred web browser and enter mywifiext.net in the web URL area.
If you don’t already have an account, create one.
Choose the network you want to expand.
To continue your setup, click “Next” and then “Finish.”
Now that you’ve finished using Netgear ext, you can install your range extender anywhere you like and connect your other devices to enjoy a consistent connection throughout the house.
Mywifiext.net not working.
As it is a local network, there could be a variety of reasons why it isn’t working, but let’s start with the basics. If mywifiext.net does not load,
Bring your Netgear WiFi extender close to the wireless router and correctly plug it into the outlet.
Open a web browser after connecting your range extender to your computer or laptop. To access it, enter mywifiext.net into your browser.
If you are still unable to access this site, you can browse the commonly observed problems on our website to find solutions.
Move your extender as close to the router as you can while login into the router’s settings page. Locate the 5GHz band in the wifi settings and press the Save button.
It is essential to update to the most recent version of firmware since Netgear regularly provides updates to improve functionality and security. To update your Netgear extender setup, log in.
Multiple factors may be in effect, but in this case, it is likely that your Netgear extender is outside the router’s coverage area because it just boosts and broadcasts the router’s signals to the dead zone area.
Netgear extender reset using 192.168.l.250
The Netgear WiFi extender will work with this default position control panel, which also gives you access to the Internet to make settings changes. Because you can alter your settings and then restore them whenever you want using the mywifiext.net admin login page, it is often referred to as a “soft reset.” You may quickly reset your device using the Netgear wizard reset window, or if you want a more strong solution, you can choose a hard reset. The factory reset method is a part of the hard reset strategy.
How to reset the Netgear extender using the reset button
Connect the extender’s power supply.
Find your extender’s Factory Reset button. On the side or bottom panel of the extension, there is typically a small hole that covers the button.
With a straight paper clip or another similar-sized object, press and hold the Factory Reset button until the Power LED begins to blink.
This might take ten seconds.
Give the Led on your extension time to settle.
Now that it has been reset, your extender is ready to be used.
We hope that the right solution to your reported query, “how to set up a wifi extender,” as well as a troubleshooting and WiFi extender reset-related tutorial, have been provided. If you are still unable to access this page, you can review the most common problems to consider them and find solutions on our website. You can also contact us if you require any additional help with the Netgear extender reset via192.168.l.250.